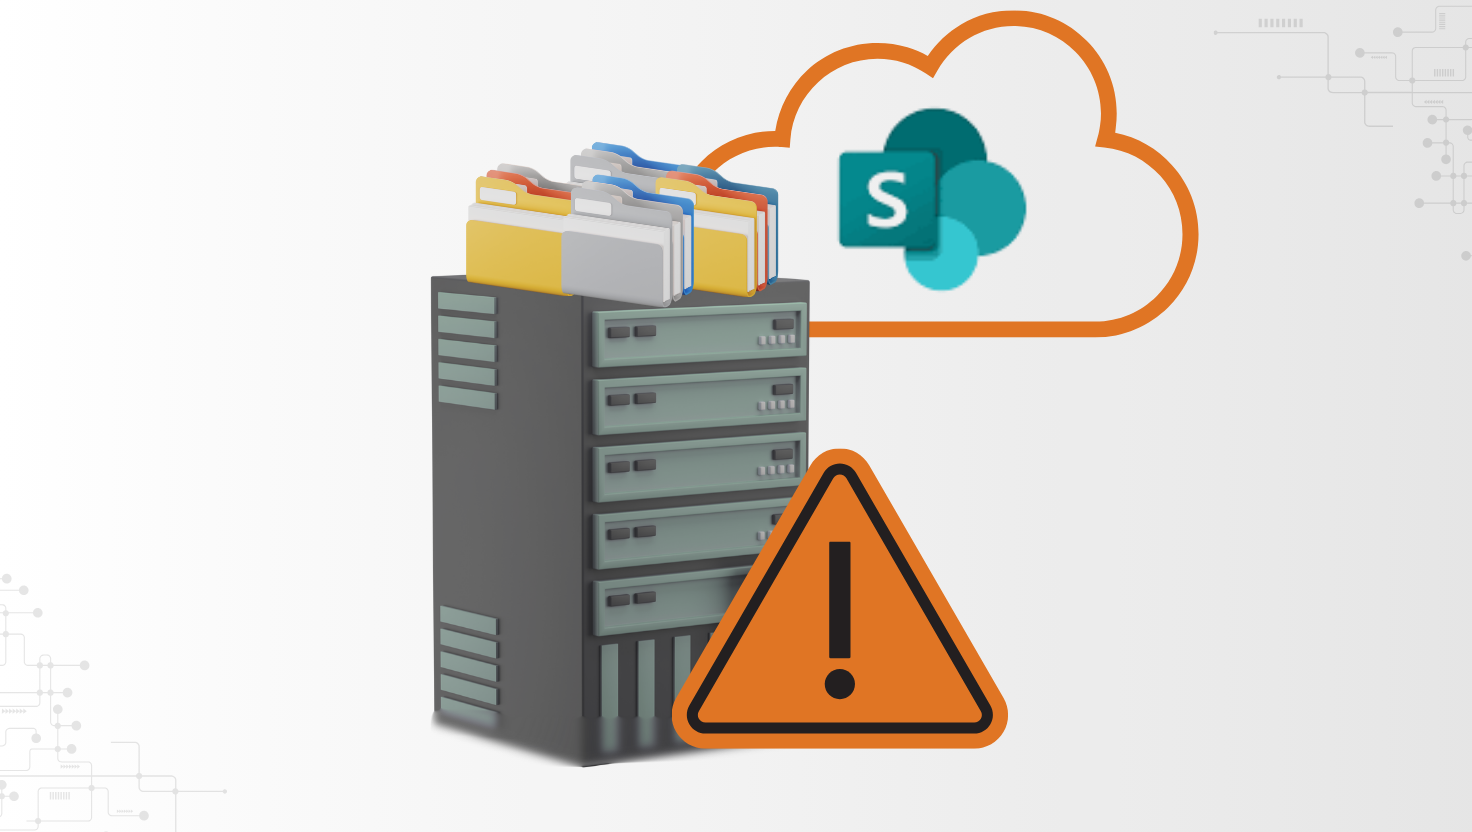
Most organizations don’t realize they’re running out of SharePoint storage until it’s almost too late. By then, you’re left scrambling—either rushing to purchase extra storage or hurriedly trying to clean up files to free up space.
It’s a reactive process that wastes time, creates unnecessary stress, and often inflates your budget. At the core of this problem is limited visibility and a lack of practical tools to monitor and optimize storage across your Microsoft 365 environment.
This blog explores that challenge and shares actionable strategies to help you reduce SharePoint storage consumption before it turns into a crisis.
What’s Behind Rising SharePoint Storage Costs
We have noticed two common scenarios from our many SharePoint client projects that tend to push organizations closer to their SharePoint storage limits:
1. Storing large media files in SharePoint
Many teams upload high-resolution videos and images directly into SharePoint libraries. While convenient, these files take up a significant amount of space over time, and storage fills up faster than expected.
2. Automatically generated content
Automations can quietly consume your storage. For example, Power Automate flows that create SharePoint sites for each new project often generate default libraries, placeholder documents, or log files. Over time, these small items accumulate, especially when no one is actively reviewing or clearing them out.
Beyond media-heavy uploads and automated content generation, other factors that quietly contribute to rising SharePoint storage costs include:
- Uncapped document versioning
By default, SharePoint can store hundreds of versions of the same file, especially in collaborative environments. Without limits, version histories can grow and consume valuable storage space.
- Inactive or abandoned SharePoint sites
Old project sites or unused team spaces often sit untouched but still consume storage through outdated files, media, and system content that no one remembers to archive or delete.
- Orphaned large files or media assets
Over time, files are uploaded for temporary use and forgotten. These might include training videos, high-resolution images, or exported reports that are no longer needed but still occupy space.
- Lack of retention or lifecycle policies
Without defined rules to automatically archive or delete stale content, documents and files pile up. Many organizations delay implementing these policies, but doing so early can prevent long-term clutter.
- File check-ins and repeated uploads
Uploading multiple versions of the same file or failing to check in documents after editing can lead to duplication and version bloat across libraries.
What Counts Toward SharePoint Storage (and How It’s Calculated)
SharePoint Online storage isn’t just about the files you upload; it encompasses a wide range of content that accumulates over time. Below are the key components that contribute to your overall storage consumption:
- Documents, images, videos, and other uploaded files
Everything stored in document libraries, Word files, Excel sheets, PDFs, media, and more counts toward your tenant’s storage.
- Files in the Recycle Bin
Items in the first-stage and second-stage Recycle Bins continue to use storage until they’re permanently deleted.
- List items, site pages, and assets
Structured content, such as list entries, their attachments, and assets used to build and design pages.
- Version history
Every version of a file takes up space. For instance, if versioning is enabled and a 5 MB file has 100 versions, that file alone uses 500 MB.
- Preservation Hold Library (PHL) content
When retention policies are applied, deleted content is stored in a hidden PHL. Even though users can’t see it, it still occupies storage.
How Storage is Allocated in Microsoft 365
SharePoint storage is calculated per site collection, and every item, including documents, media files, lists, libraries, or site content, counts towards the storage consumed.
All the elements we’ve covered so far contribute to this total. That includes everything from version history and inactive sites to large media files and auto-generated content.
Typically, admins have control over how storage is utilized across the tenant. Without proactively doing this, it’s easy to hit your limits—and that’s when the extra costs start to show up.
Your organization’s SharePoint storage allotment is based on a simple formula:
1 TB + (10 GB × number of eligible licensed users)
Every Microsoft 365 tenant starts with 1 TB of pooled SharePoint storage. After that, you get an extra 10 GB for each qualifying user license purchased. If you have 750 Microsoft 365 E3 licenses, you will get: 1 TB + (10 GB × 750) = 1 TB + 7,500 GB = 8.5 TB of SharePoint storage.
Additionally, each user receives 1 TB of OneDrive storage, so in this example, the company would also receive 750 TB of OneDrive storage for its users.
Keep in mind:
- Not all license types count toward your SharePoint storage allotment.
- Frontline worker plans (like the F series) do not contribute additional storage and typically come with just 2 GB of OneDrive space per user.
How to Reduce SharePoint Storage Costs Without Any Feature Loss
Here is an assortment of strategies we recommend for managing rising SharePoint storage costs to avoid maxing out your allotted amount of SharePoint storage and avoid having to consistently purchase additional storage.
1) Define Appropriate Storage Quotas for Different Site Types
The first step is to collaborate with your internal Microsoft 365 governance team to establish clear quota levels for various types of SharePoint sites.
Not all sites have the exact storage needs. A marketing hub, for example, needs more space than a site created for a short-term project. Defining these tiers helps ensure resources are allocated efficiently.
2) Standardize Site Provisioning with Growth Expectations
Before provisioning a new site, consider the kind of data to be stored and how fast you expect it to grow. Obtaining this information upfront helps you right-size the site from the start and avoid wasting storage on over-provisioned space that you may never use.
3) Set Manual Storage Limits
Opt for manual storage limits instead of relying on SharePoint to automatically allocate space. That way, IT admins have control over how much storage each site can use. This prevents unexpected overages and allows for more intentional resource planning.
4) Monitor Storage Usage Across Sites
Pay special attention to sites where storage usage is growing rapidly, as these can quickly spiral out of control. For advanced tracking or automation, consider using SharePoint Online PowerShell to generate site-level storage reports and set up alerts.
5) Set a Clear Offboarding Policy
When employees leave, their OneDrive content becomes someone else’s responsibility. Your offboarding process should include steps such as determining who inherits the user’s OneDrive, how long their data will be retained, and when it should be deleted. Without this, orphaned data can increase your storage costs.
6) Revisit your Versioning Policies
Version history is useful, but without limits, it becomes a silent storage drain. Start by identifying libraries that store large media files or have unusually high version counts. In some cases, this may be caused by automation scripts or file workflows that save too many revisions. Where needed, apply custom versioning settings—especially in libraries that don’t need to retain dozens or hundreds of copies of each file.
7) Make Use of Microsoft 365 Archive
Not all content needs to stay in active storage. If you have old project files, legacy documents, or compliance data that are rarely accessed but still important, consider moving them to Microsoft 365 Archive. It’s a cost-saving storage tier designed to free up space without compromising access to what matters.
Methods to Optimize SharePoint Storage Size
Optimizing SharePoint storage involves more than just clearing space; it also entails enhancing performance and minimizing unnecessary costs.
1. Clean Up Unused or Stale Content
Regularly delete outdated or unused content in SharePoint to maintain a clean and organized environment. This frees up space and improves overall performance.
Here are a few ways to identify stale content across your tenant:
- Use the SharePoint Admin Center to Find Inactive Sites: Go to the SharePoint Admin Center and check the “Last activity” column under the Active Sites tab.
- Review Site Usage Reports from the Microsoft 365 Admin Center: Export site usage reports to get a broader view of SharePoint activity across your organization.
- Identify Inactive Sites Using PowerShell: For a more targeted approach, use PowerShell to list sites by their last modified date.
2. Clear the Recycle Bin to Reclaim Storage
Deleted files still take up space until they’re permanently removed. In SharePoint Online, items go through two stages before they’re entirely deleted:
- First, they’re sent to the first-stage Recycle Bin (visible to end users).
- If deleted from there, they are moved to the second-stage Recycle Bin (accessible to site collection administrators).
By default, deleted items sit in the Recycle Bin for up to 93 days—first in the user-accessible bin, then in the second-stage bin.
If you’re running low on storage, there’s no reason to wait. Emptying both bins manually is a quick way to get more storage space.
3. Limit Document Version History to Save Space
Versioning is helpful, but if left unchecked, it can quietly consume a large chunk of your SharePoint storage, especially in libraries with frequently edited or media-heavy files.
By default, SharePoint Online keeps multiple versions of a document. That means every edit, even minor ones, adds to your storage usage. For example, a single 10 MB file with 50 versions can take up 500 MB.
The good news? SharePoint now includes intelligent versioning, which helps by automatically limiting the number of versions kept. You can also configure versioning settings manually on each document library—for example, keeping only the latest 10 or 20 versions.
Taking a few minutes to review versioning settings on high-traffic sites can make a real difference. It’s a simple change that can reduce storage usage and help you avoid paying for space you don’t need.
4. Archive Inactive SharePoint Sites
If a site is no longer active, it doesn’t need to occupy prime storage space. Archiving old sites is an easy, low-cost way to free up space without deleting anything important.
Microsoft 365 Archive enables you to migrate inactive sites to a low-cost, cold storage tier. These sites are removed from the active site list but remain fully intact and permissions are preserved. Reactivating a site later is seamless and doesn’t result in data loss.
Archiving is done in-place, meaning you don’t have to migrate content elsewhere. Microsoft provides built-in workflows to help site owners assess whether a site is active, dormant, or ready for deletion before it’s archived.
5. Automate Cleanup with Microsoft 365 Retention Policies
Retention policies in SharePoint Online enable you to delete content after a specified period automatically. This helps you stay ahead of storage bloat without relying on users to clean things up.
If you have project files that don’t need to be stored indefinitely, you can set a rule to delete them two years after they’re last modified. Alternatively, you can apply a policy that automatically deletes draft documents after 90 days. It ensures old content doesn’t pile up in the background.
If you’re already using Microsoft Purview for compliance, these same tools can also help manage storage more efficiently without affecting active content.
How SharePoint Versioning and File Check-Ins Impact Storage and Cost
In many cases, storage issues start with how SharePoint is provisioned by default. For example, every new document is set to retain up to 500 versions of each file. That might be fine for Word documents or Excel spreadsheets, but it’s not ideal for large files like video recordings. Saving 500 versions of a 1 GB video consumes approximately one terabyte of storage.
The reality is that versioning is helpful when you need to track changes or recover edits. However, storing hundreds of copies of large binary files rarely delivers any real value.
When a site runs out of storage, it goes into read-only mode. Users can still access content, but they won’t be able to upload, edit, or save changes until space is freed up. IT teams can configure warning emails to alert site owners when storage is getting tight, but in practice, these alerts are often missed, especially if the owner is away or no longer active.
Once you reach the limit, your only options are to increase the storage quota (which may incur additional costs) or start cleaning up—deleting files, trimming versions, or archiving what is no longer needed.
A Smarter Way to Manage Rising SharePoint Storage Costs
Storage growth is inevitable, but manageable. No matter the activities in your company, SharePoint storage doesn’t have to spiral out of control. With the right mix of policies, you can effectively manage storage usage and avoid unexpected expenses.
If you haven’t already, now is a good time to audit your environment. Select one strategy from this guide and get started, whether it’s limiting version history, archiving inactive sites, or establishing retention policies.
We can help your company assess its current setup and design a governance strategy tailored to your needs. Contact us to get started.